
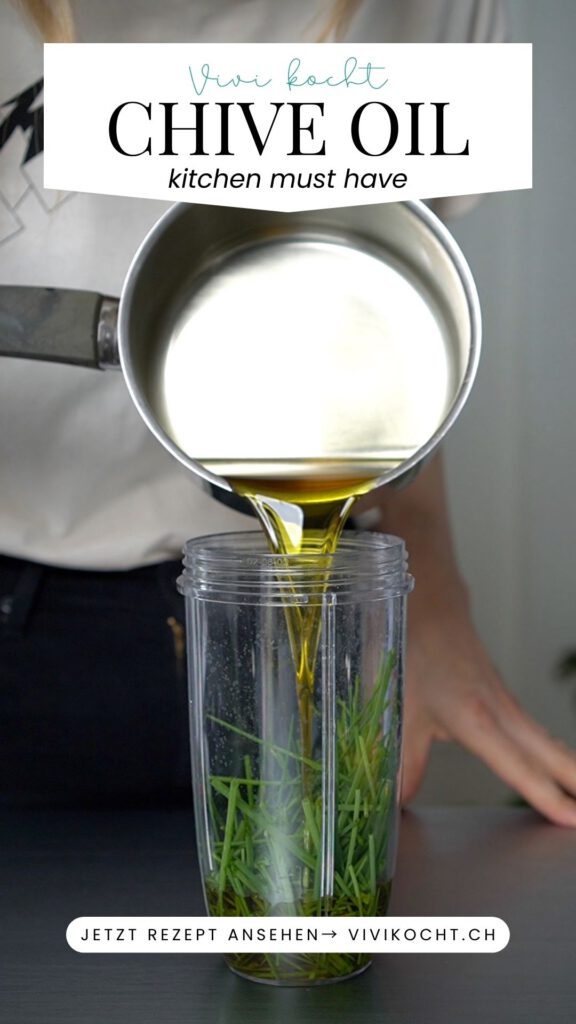
Make your own chive oil. This oil is a simple but incredibly versatile ingredient that no kitchen should be without. Not only does it add an intense, fresh flavour to dishes, it’s also a great way to preserve chives.
Whether you drizzle it over freshly cooked pasta or use it as a base for a dressing, you’ll love the intense flavour of chives and spice up your creations in no time at all.
Why chive oil?
Many people throw away chives when they wilt – but that doesn’t have to be the case! With this recipe, you can preserve them for longer and use them in liquid form in numerous dishes.
Here are six reasons why chive oil is useful:
- Longer shelf life – Fresh chives wilt quickly, but their flavour is preserved longer in oil.
- Intense flavour – The oil perfectly absorbs the flavour of the chives and distributes it evenly throughout dishes.
- Versatile use – ideal for salads, pasta, soups, dips or as a finishing touch to potato dishes and fish.
- Easy to use – instead of chopping fresh chives, you can simply use a few drops of oil.
- Visual enhancement – The bright green oil makes for a real eye-catcher on the plate.
- Customisable – you can combine it with other herbs such as parsley or basil.
Ingredients for chive oil
Before you begin, here are the ingredients you will need for this recipe. The exact quantities are listed in the recipe card at the end of the article!
- OIL: Neutral-tasting rapeseed oil is best. Rapeseed oil is also rich in unsaturated fatty acids. Compared to other vegetable oils, rapeseed oil has an ideal ratio of omega-3 and omega-6 fatty acids. It is rich in vitamin E and vitamin K. Rapeseed oil is particularly mild and is easily absorbed by the body. Regional & sustainable OIL, because rapeseed oil is produced regionally in Germany, Austria and Switzerland, which shortens transport routes and reduces environmental impact.
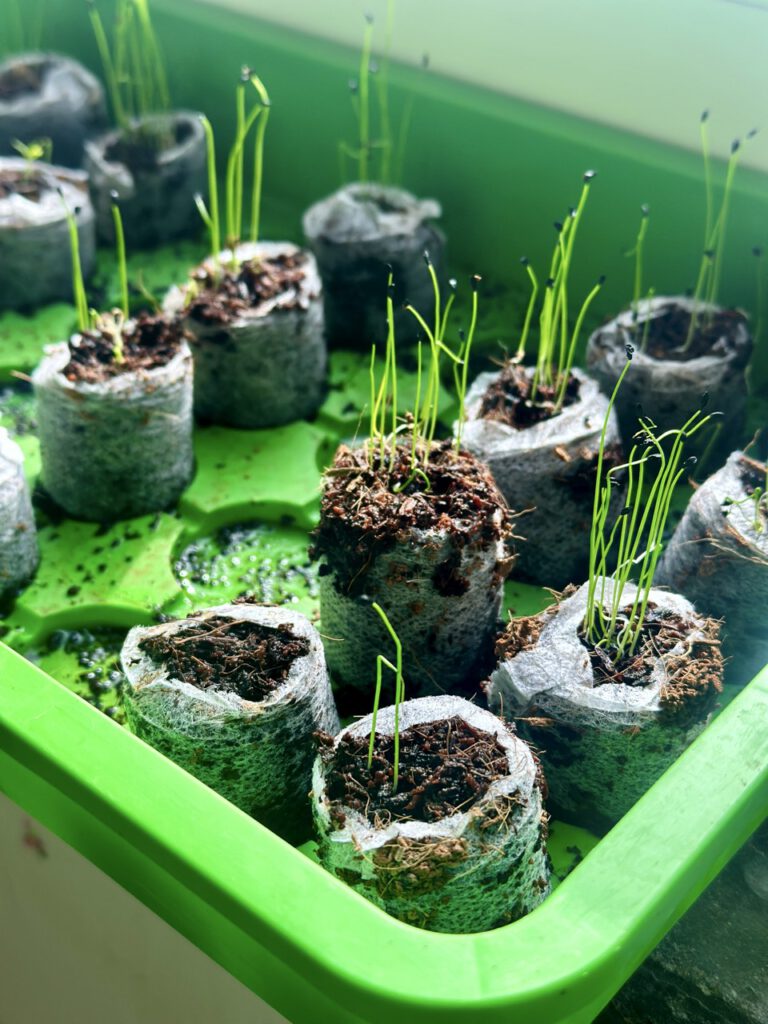
- What to look for in chives: They should be a vibrant green, firm and not wilted. Avoid yellow or dry stalks, as these are signs of old produce. Choose organic quality, as it contains fewer pesticides and has a more intense aroma.
It’s best to grow your own on the windowsill.
Preparation
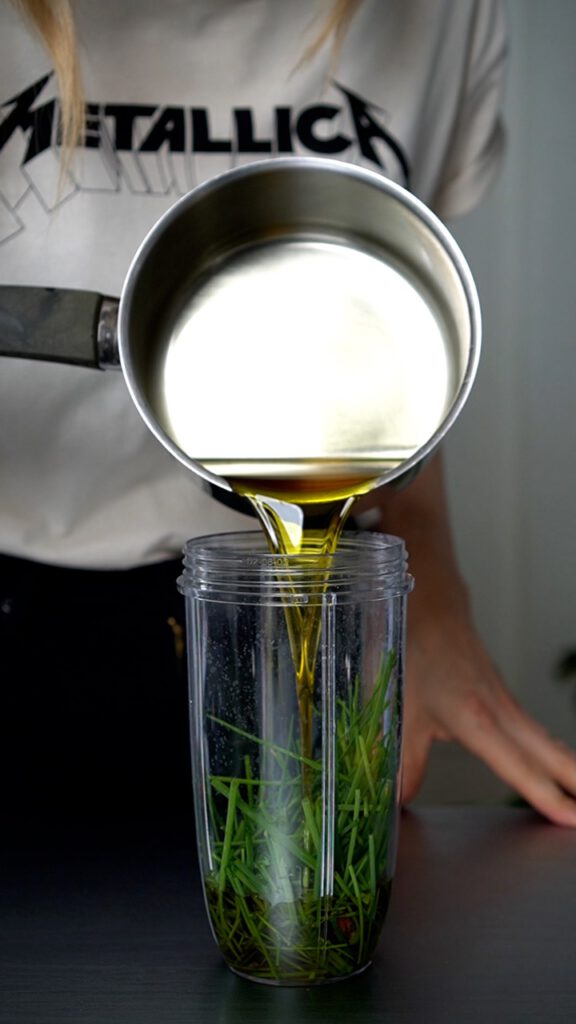
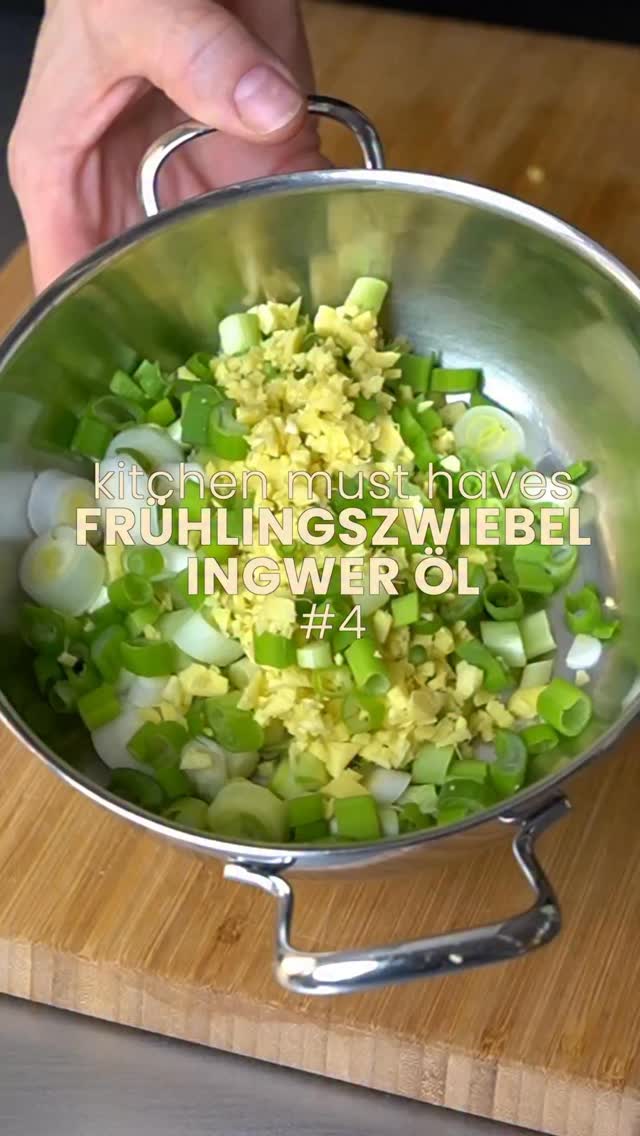
- Preparation: Heat the oil to 60 to 65 °C (not too hot, so that the fresh flavours are preserved). Roughly chop the chives and place in a blender.
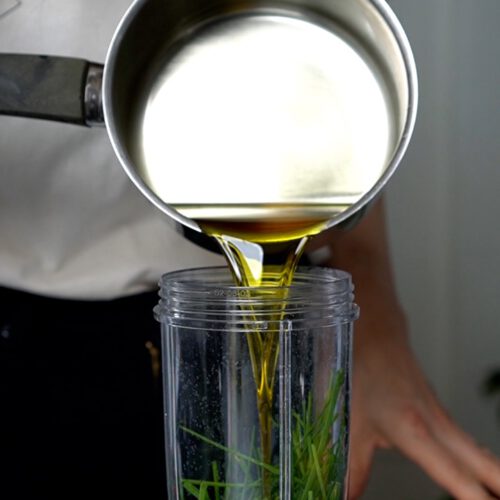
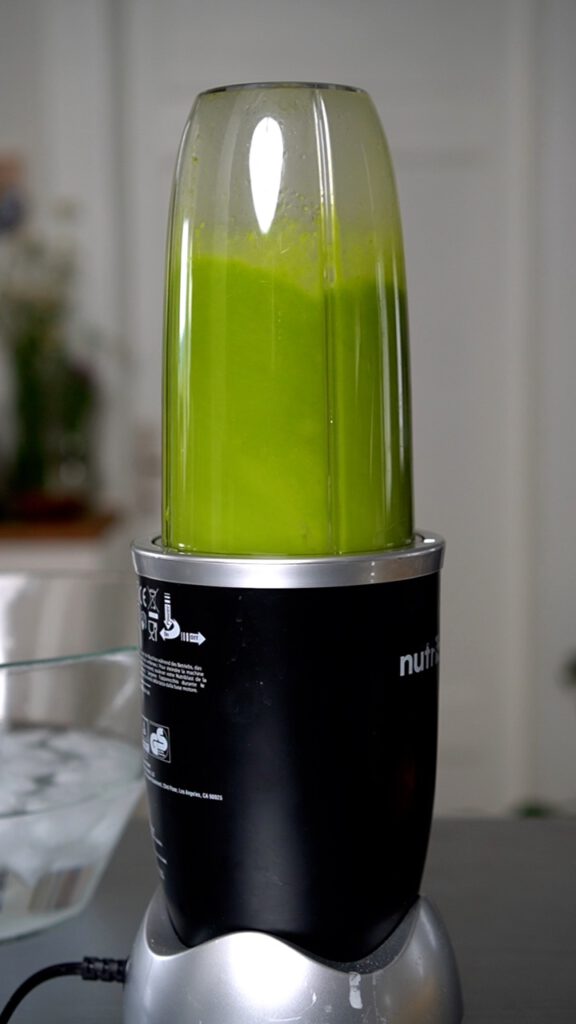
- Blend: Add the heated oil and blend well until you have a smooth green liquid. I like to use the Nutribullet.
- Strain: Pour the finished chive oil through a micro sieve or a fine cloth – do not squeeze it, so that the oil remains clear. It takes a while, but that’s OK.
- Cooling: Then cool quickly on ice to preserve colour and freshness.
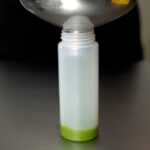
- Bottling: Pour into a clean glass bottle and store in the refrigerator.
TIPS
Choosing oil: A mild olive oil gives a more intense aroma, while rapeseed oil or sunflower oil has a more neutral taste.
Storage: The oil will keep in the fridge for approx. 1-2 weeks. If you want to store it for longer, you can freeze it.
Perfect as a gift: Bottled in a pretty glass bottle, chive oil makes a great gift for friends and family. Try different
combinations: Refine the oil with other herbs such as parsley, basil or tarragon for different flavours.
Frequently asked questions
Can I also use frozen chives?
Fresh chives are ideal, but frozen ones can also work – however, the flavour will be slightly weaker.
Why should I not heat the oil too much?
Excessive temperatures destroy the delicate aromas of the chives and can make the oil bitter.
What can I use chive oil for?
Perfect for pasta, soups, dressings, grilled vegetables or as a topping for baked potatoes and fish dishes.
My oil becomes cloudy after a few days – is this normal?
Yes, this is completely normal! The natural herbal ingredients can cause the oil to change slightly. Simply shake well or filter again.
More recipes to discover
Please do not hesitate to leave me a comment, I always appreciate it!

You can also find me on Instagram, Facebook, TikTok and YouTube to take a look behind the scenes of my blog.
Feel free to save the recipe on Pinterest.
Recipe Card
*The recipe card contains Amazon affiliate links. As an Amazon partner, I earn from qualifying sales. However, your price remains the same!
Schnittlauchöl
Equipment
- 1 Nutribullet * oder Mixer
- 1 Sieb * oder Teesieb
Ingredients
- 2 Bund frischer Schnittlauch
- 250 ml geschmacksneutrales Rapsöl
Instructions
- Das Öl auf 60 bis 65 °C erwärmen (nicht zu heiß, damit die frischen Aromen erhalten bleiben).
- Den Schnittlauch grob zerkleinern und in einen Mixer geben.

- Das erwärmte Öl dazugeben und alles gut mixen, bis eine gleichmäßige grüne Flüssigkeit entsteht.

- Das fertige Schnittlauchöl durch ein Mikrosieb oder ein feines Tuch tropfen lassen – nicht auspressen, damit das Öl klar bleibt.
- Anschließend schnell auf Eis abkühlen, um die Farbe und Frische zu bewahren.
- In eine saubere Glasflasche abfüllen und im Kühlschrank aufbewahren.


Leave a Reply