— Make your own crispy Italian focaccia
Focaccia is one of those breads I bake time and time again — and every time, I look forward to it all over again when it comes out of the oven and the whole kitchen smells of warm olive oil and fresh bread. Yet this focaccia recipe requires no complicated techniques, no long proving times in the fridge and no prior experience. Just a little time and some good olive oil.
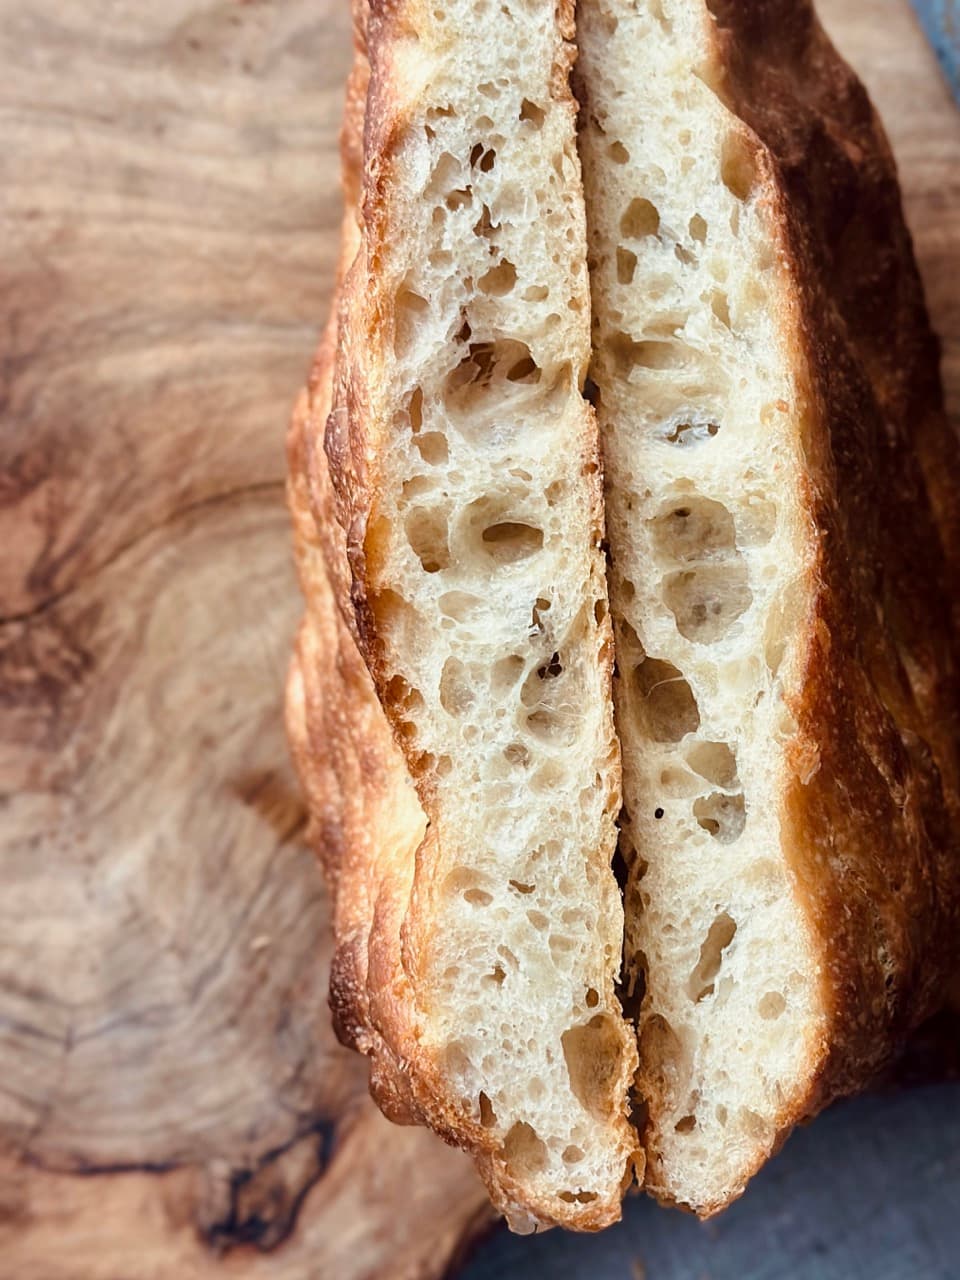
What makes this recipe special is the autolysis method used at the start: the flour and water are left to soak for an hour before the yeast is added. This gives the dough structure without the need for much kneading. The result is a loaf with a golden-brown, slightly crispy crust and a light, soft crumb — perfect as a side dish, a snack or as a base for homemade pizza.
How I make focaccia — step by step
Step 1. Autolysis
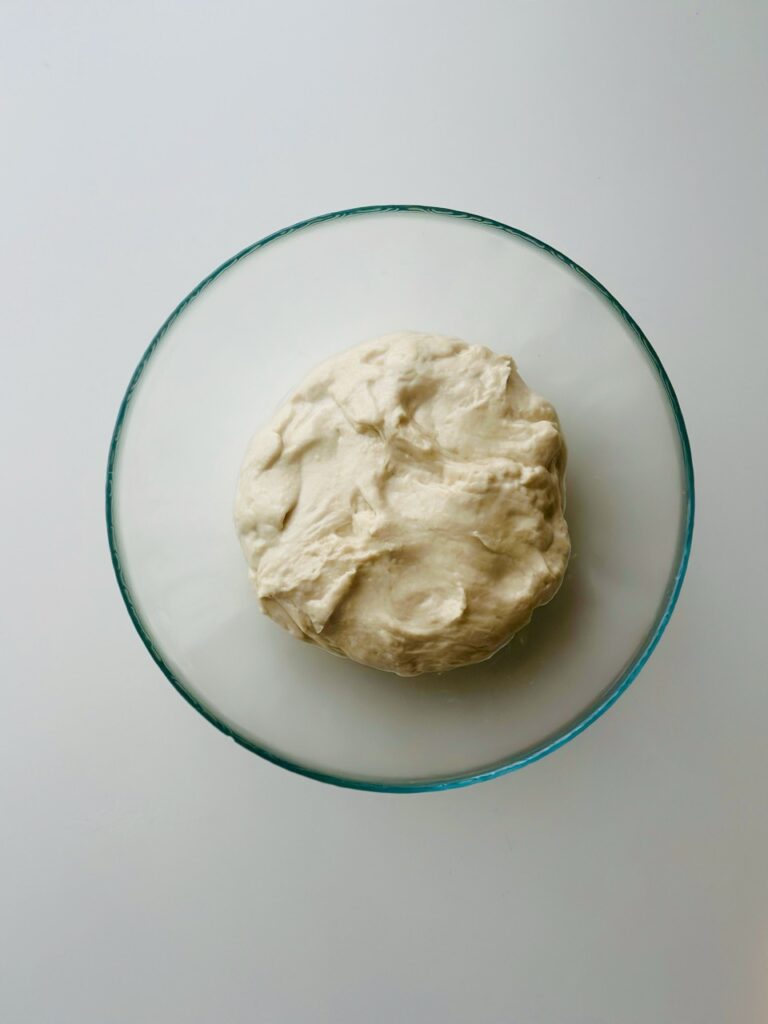
Mix almost all of the water — keeping a few tablespoons aside — with all the flour in a large bowl until there are no dry patches left. Sprinkle the salt over the top and press it in gently with a wet hand. Cover the bowl and leave the dough to rest for 1 hour. This step develops the gluten structure without requiring much kneading.
Step 2. Incorporate the yeast
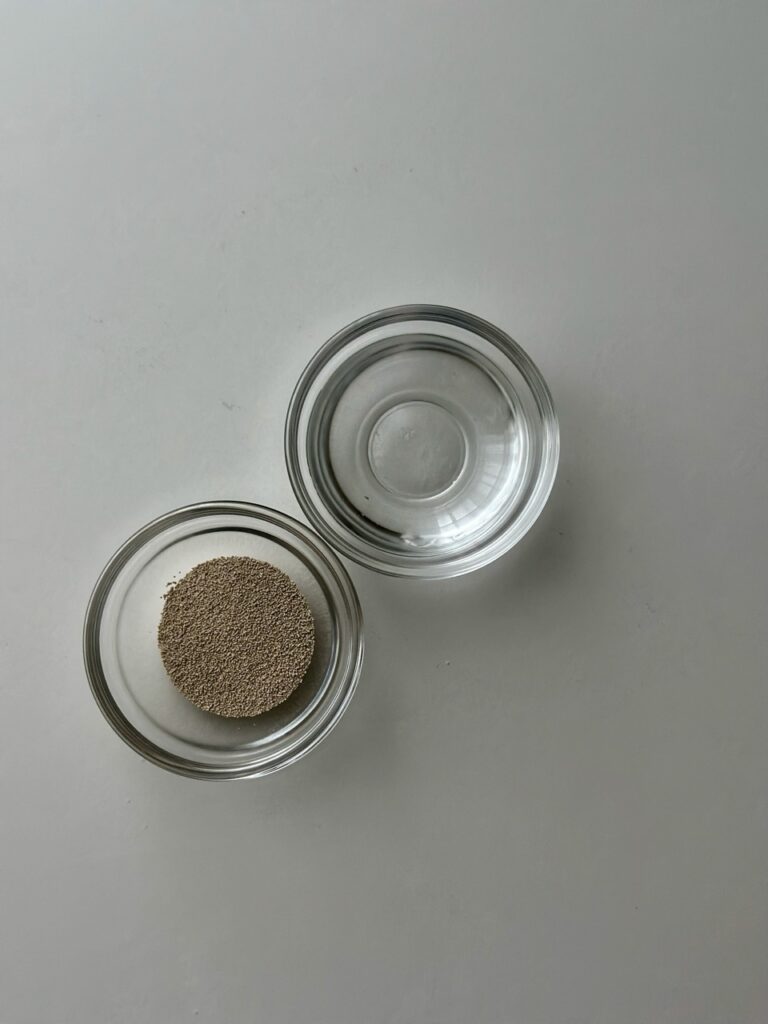
Mix the reserved water with the yeast until it has dissolved. Add the yeast and water mixture to the dough and mix in thoroughly. If using fresh yeast, use three times the amount of dry yeast specified.


Step 3. Kneading
Place the dough on the work surface and knead for about 10 minutes using the stretch-and-fold method: stretch the dough, fold it over itself, turn it 90 degrees, and repeat. Alternatively, 4 minutes in a food processor fitted with dough hooks on a medium setting will suffice. Target dough temperature at the end: 24–25 °C. A dough thermometer is a huge help here.
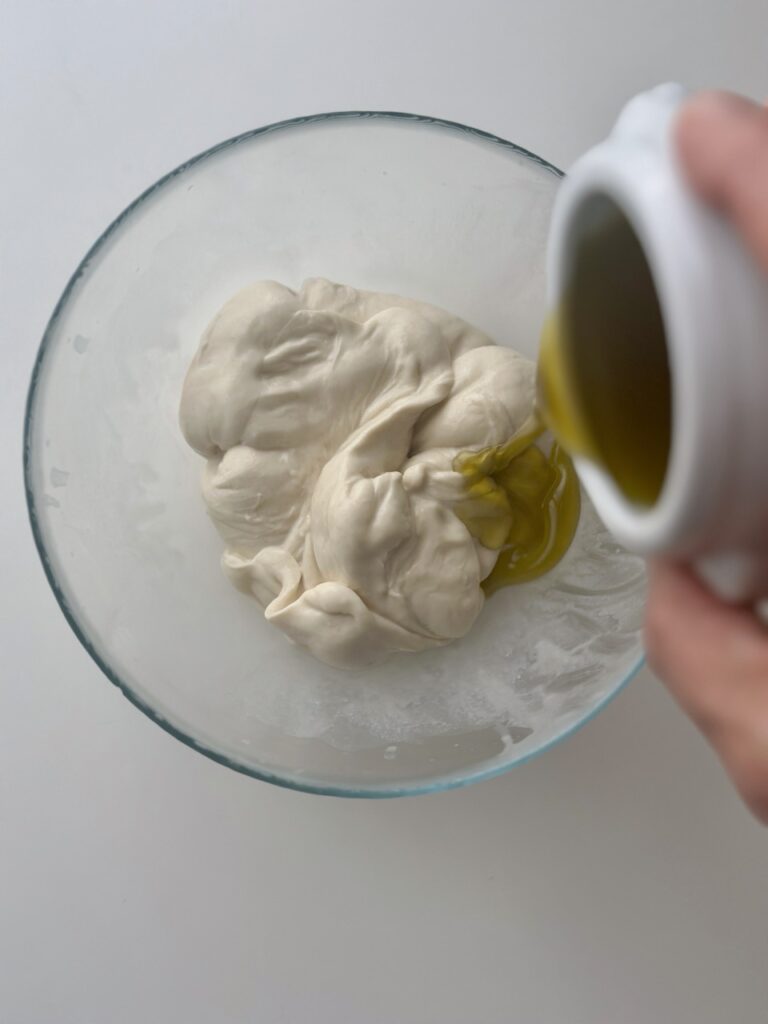
Step 4. Stir in the olive oil
Pour 50 g of olive oil into the bowl and place the dough straight into it. Fold the dough through the oil a few times. The oil will gradually be absorbed into the dough — be patient; it looks a bit slippery at first, but it will come together.
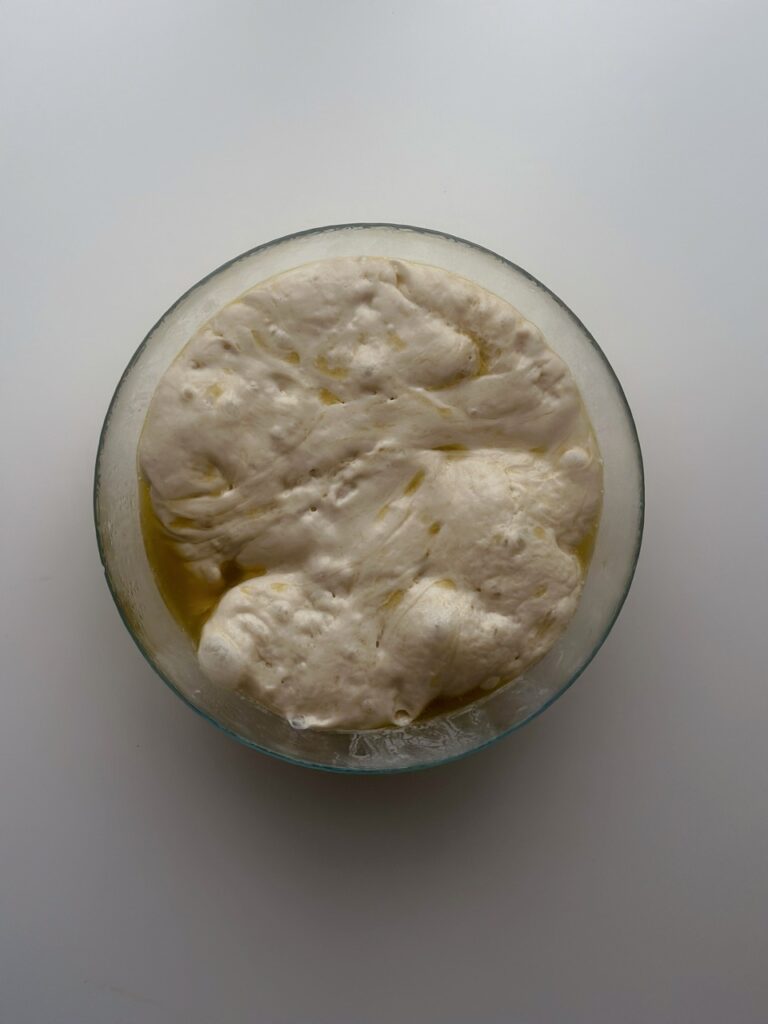
Step 5. Shaping the dough
Leave the dough to rise for 75–90 minutes. Fold it every 15 minutes to ensure the oil is fully incorporated. If the dough rises very quickly, shorten the proving time, but still carry out the same number of folds at shorter intervals. If it rises slowly, simply extend the total time and keep the folding intervals the same.
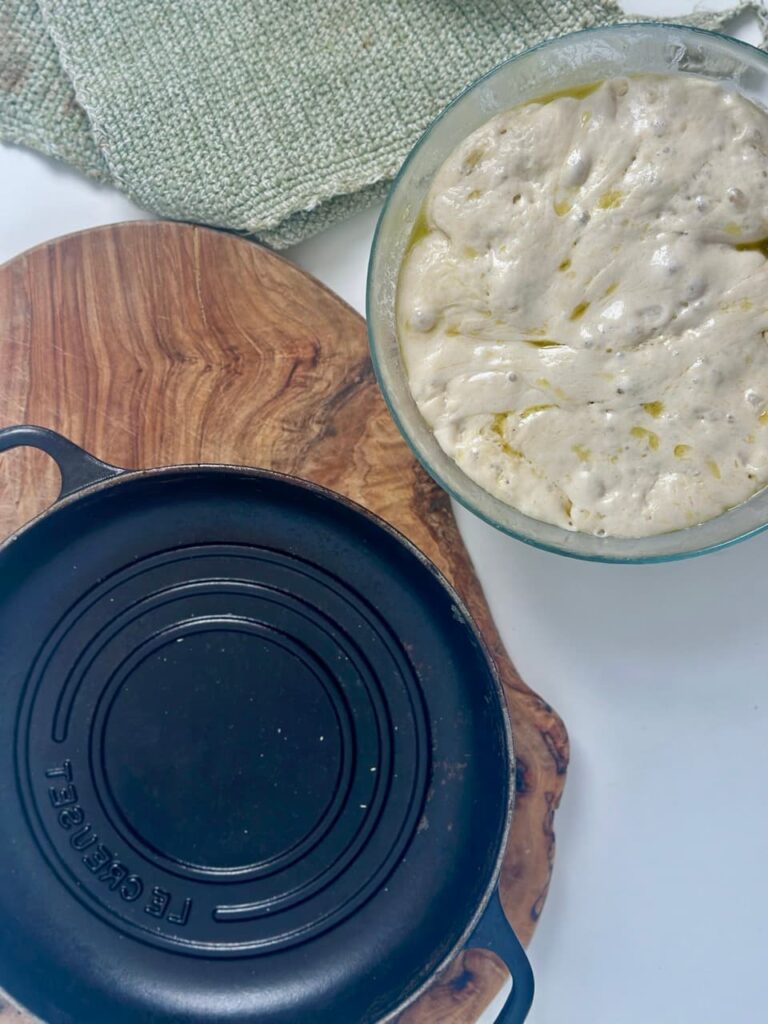
Step 6. Second proving and preheating the oven
After the final fold, place the dough on baking paper and leave to rise for another 30 minutes until it looks visibly puffed up and light. Meanwhile, preheat the oven to 220 °C (top and bottom heat, no fan). Preheat the baking dish — a cast-iron pan (23 cm diameter) works wonderfully — at the same time.
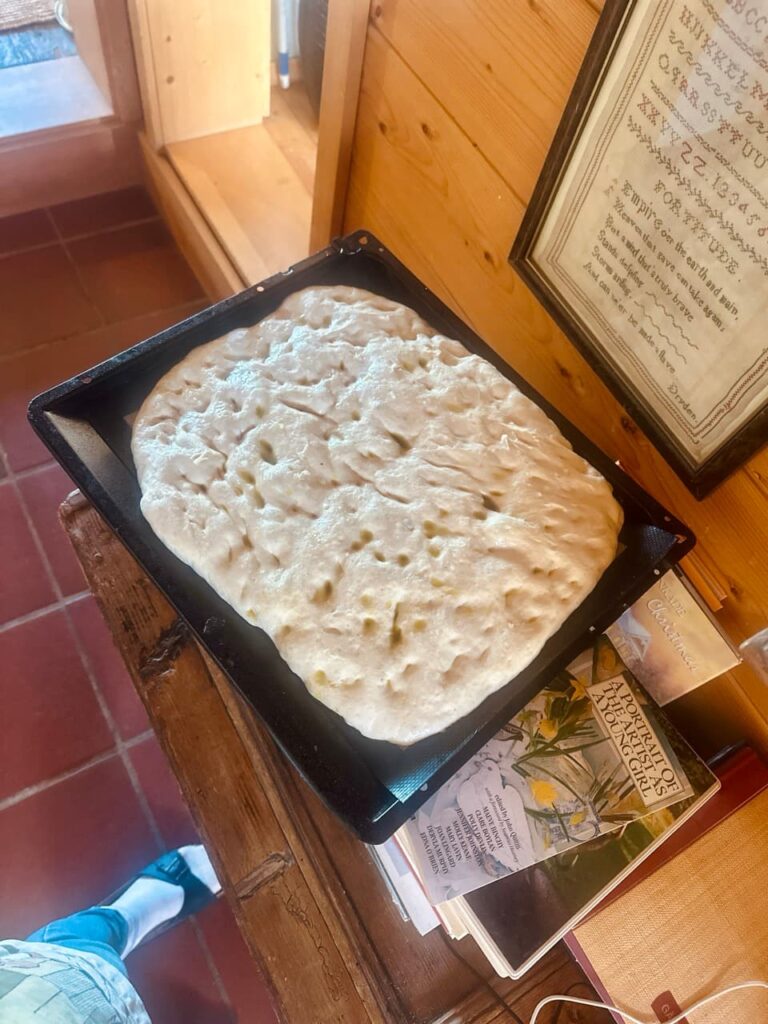
Step 7. Assemble (optional) and bake
Place your chosen toppings on top and press them in gently. A classic combination: coarse sea salt, fresh rosemary and a dash of olive oil. Bake the focaccia for 25–30 minutes until it is golden brown and cooked through.
Tips and variations
The beauty of focaccia lies in its toppings – there are virtually no limits. The classic combination is coarse sea salt with rosemary, but cherry tomatoes and sliced olives, caramelised onions or thinly sliced courgettes with goat’s cheese are also delicious. For a denser crumb, increase the water by 10–15 g — the dough will become softer and stickier, but will need more folding.
If you don’t have a cast-iron pot or pan, simply bake the focaccia on a preheated baking tray — don’t forget the baking paper. The result is a bit flatter, but just as tasty. For pizza-style focaccia, simply top with tomato sauce and mozzarella and give it a quick toast under the grill to brown it slightly.
Storage
Room temperature: Best served on the same day, wrapped in a tea towel — fresh focaccia is unbeatable.
Fridge: Keeps for 1–2 days in an airtight container. Reheat briefly at 180 °C before serving – it will taste almost as good as fresh.
Freezer: Slice the cooled focaccia and freeze. Bake straight from the freezer at 200 °C for approx. 8–10 minutes.
FAQ
Can focaccia also be made with wholemeal flour?
Yes, up to 50% of the plain flour can be replaced with wholemeal flour. Increase the amount of water slightly (by about 10–15 g), as wholemeal flour absorbs more water.
Why autolysis — can this step be skipped?
Technically speaking, yes, but autolysis makes the dough much smoother and easier to work with. If you skip this step, you should increase the kneading time to 12–15 minutes.
Do you have to use a cast-iron pan?
No. Any ovenproof dish or a hot baking tray will work just as well. A cast-iron pan makes the beetroot particularly crispy, but it’s not essential.
More recipes
Please do feel free to leave me a comment – I always love hearing from you!

You can also find me on Instagram, Facebook, TikTok and YouTube for a glimpse behind the scenes of my blog.
Recipe Card
*This recipe card contains Amazon affiliate links. As an Amazon affiliate, I earn a commission on qualifying purchases. However, the price you pay remains the same!

Simple Focaccia
Equipment
- Large bowl,
- 1 baking paper
- 1 dough thermometer
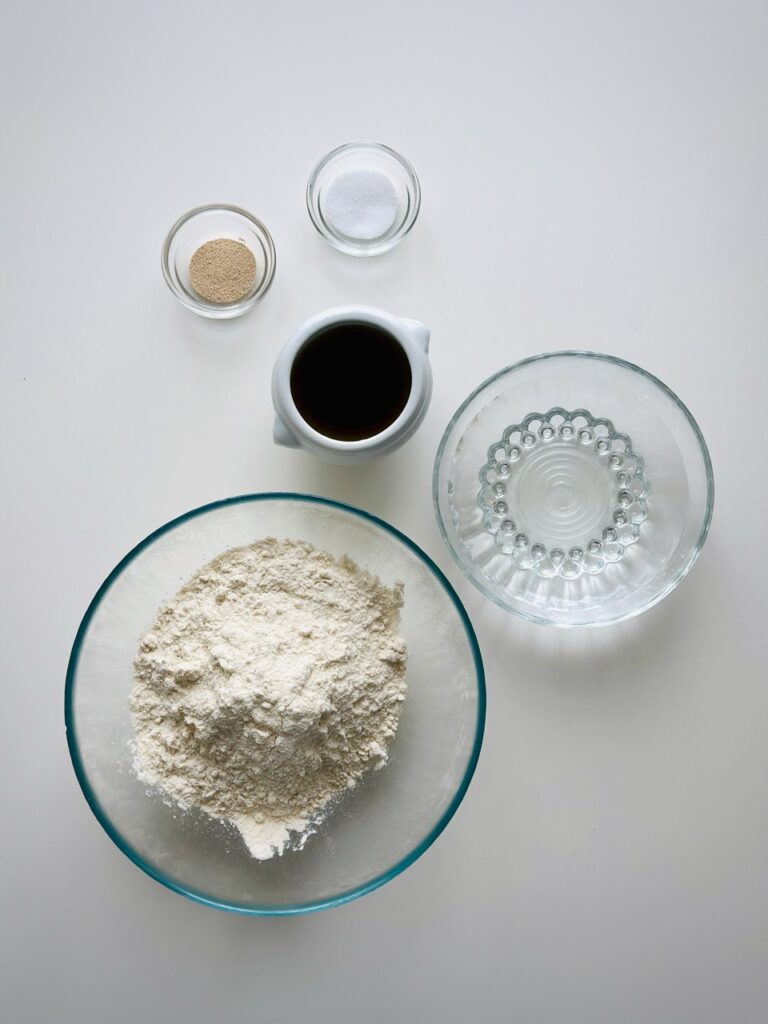
Ingredients
- 250 g bread flour high-gluten, Type 550
- 5 g salt
- 3 g dry yeast or 9 g fresh yeast
- 50 g olive oil
- 185 g water approx. 20 °C, room temp approx. 22 °C
Instructions
- Mix most of the water with all the flour until no dry patches remain. Sprinkle salt on top, press in lightly. Cover and rest for 1 hour.
- Stir remaining water with the yeast until dissolved. Add to the dough and mix well.
- Knead for 10 min using the stretch-and-fold method (or 4 min in a stand mixer). Target dough temperature: 24–25 °C.
- Pour olive oil into the bowl, place the dough inside and fold a few times.
- Let rise for 75–90 min, folding every 15 min.
- Place dough on baking paper, rest 30 min. Preheat oven and pan to 220 °C / 430 °F (top/bottom heat, no fan).
- Press toppings in gently. Bake 25–30 min until golden brown.


Leave a Reply